


Looking to remove your cooktop from the counter? We’ve got you covered! Removing a cooktop from the counter may sound like a daunting task, but with the right guidance, it can be a breeze. In this article, we will walk you through a simple step-by-step process on how to remove your cooktop from the counter, allowing you to upgrade or repair your appliance with ease. So, whether you’re a seasoned DIY enthusiast or a beginner looking to tackle a home improvement project, keep reading to learn how to remove a cooktop from the counter effortlessly.


How to Remove a Cooktop from the Counter
Removing a cooktop from your counter may seem like a daunting task, but with the right steps and a little know-how, you can easily accomplish it. Whether you’re replacing an old cooktop or making repairs, this guide will walk you through the process of safely removing a cooktop from your counter. From gathering the necessary tools to disconnecting the power supply, we’ve got you covered. Let’s dive in!
Gather the Necessary Tools
Before you begin, make sure you have all the tools you’ll need to safely and effectively remove your cooktop. Here’s a checklist of items you should have on hand:
- Screwdriver (either Phillips or flathead, depending on the type of screws used)
- Adjustable wrench
- Putty knife
- Work gloves
- Clean cloth or towel
Having these tools readily available will make the removal process much smoother.
Turn Off the Power Supply
The first step in safely removing a cooktop from your counter is to disconnect the power supply. This step is crucial for your safety and the prevention of any electrical accidents. Follow these steps to turn off the power supply:
- Locate the circuit breaker panel in your home.
- Identify the circuit breaker that controls the cooktop’s power.
- Turn off the circuit breaker by flipping the corresponding switch. Ensure that it is in the “off” position.
- Double-check that the power is truly off by attempting to turn on the cooktop. If it doesn’t turn on, you can proceed with confidence.
Taking the time to properly turn off the power supply will eliminate the risk of electric shock during the removal process.
Disconnect the Gas Supply (If Applicable)
If your cooktop runs on gas, you’ll need to disconnect the gas supply before proceeding with the removal. Here’s how:
- Locate the gas shut-off valve behind the cooktop.
- Turn the valve clockwise to close it and shut off the gas supply.
- Use an adjustable wrench to disconnect the gas pipe from the cooktop. Be cautious of any gas leaks and handle the pipe with care.
- Once the gas pipe is disconnected, cover the open end with a cap or tape to prevent any potential gas leaks.
By taking these steps, you will ensure a safe and hassle-free removal of your gas cooktop.
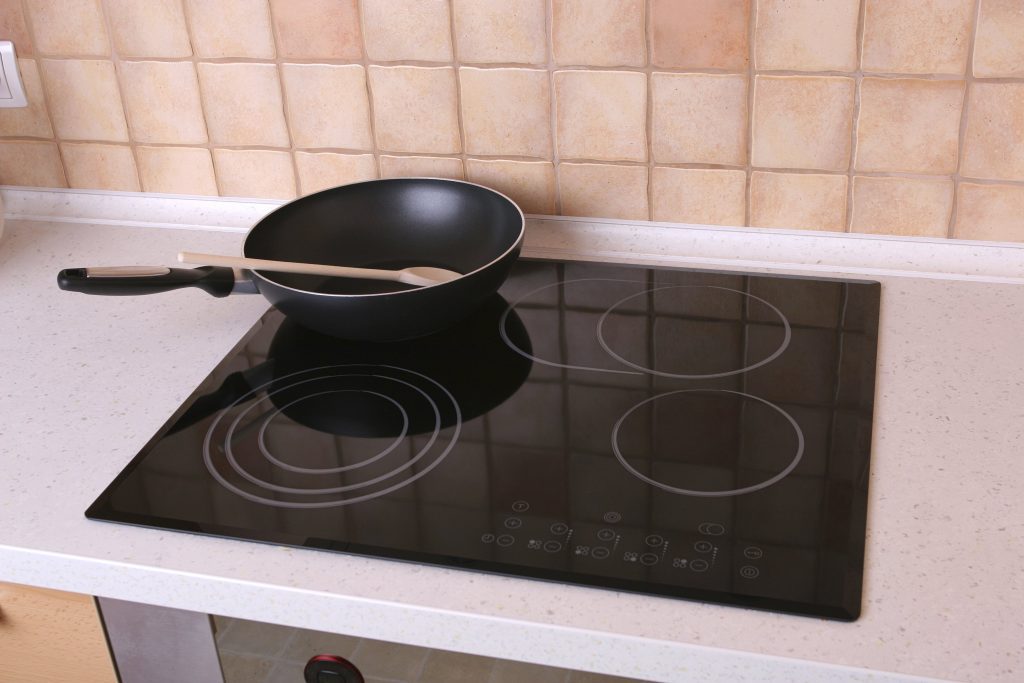
Remove the Cooktop from the Counter
Now that you’ve prepared the cooktop for removal, it’s time to take it out of the counter. Follow these steps to do it correctly:
- Inspect the edges of the cooktop to identify any screws or brackets that may be holding it in place. Use a flashlight if needed.
- Using a screwdriver, remove any screws securing the cooktop to the counter. Keep them in a safe place for future use.
- If there are no visible screws, you may need to lift the cooktop slightly to access hidden brackets. Gently pry the cooktop upward with a putty knife or similar tool while applying even pressure.
- Continue to lift the cooktop until you can access the brackets beneath it.
- Once the brackets are visible, locate any screws holding them in place and remove them with a screwdriver.
- Carefully lift the cooktop out of the counter, ensuring that you have a firm grip to prevent any accidental drops or damage.
Clean the Counter and Prepare for Installation
With the cooktop successfully removed, take the opportunity to clean the counter surface and make any necessary repairs or adjustments. Here are some additional steps to consider:
- Wipe the counter with a clean cloth or towel to remove any dirt, debris, or residue left behind by the cooktop.
- Inspect the counter for any signs of damage or wear. If necessary, repair or replace any damaged areas before installing a new cooktop.
- Measure the dimensions of the opening to ensure a proper fit for the new cooktop.
- Review the installation instructions provided with your new cooktop to familiarize yourself with the process and any specific requirements.
By thoroughly cleaning and preparing the counter, you’ll create a clean and suitable space for the installation of your replacement cooktop.
Removing a cooktop from your counter may seem intimidating, but by following the steps outlined in this guide, you can safely and effectively complete the task. Remember to gather the necessary tools, turn off the power supply, disconnect the gas (if applicable), and carefully remove the cooktop from the counter. Take the opportunity to clean and prepare the counter for the installation of a new cooktop, if needed. With the right precautions and attention to detail, you’ll be well on your way to a successful cooktop removal.
Frequently Asked Questions
How do I remove a cooktop from the counter?
To remove a cooktop from the counter, follow these steps:
Can I remove a cooktop from the counter by myself?
Yes, you can remove a cooktop from the counter by yourself, but it is recommended to have someone assist you to ensure safety.
What tools do I need to remove a cooktop from the counter?
You will typically need a screwdriver, pliers, and possibly a wrench or socket set, depending on the type of fasteners used to secure the cooktop.
Are there any safety precautions I should take before removing a cooktop from the counter?
Before removing a cooktop from the counter, make sure to turn off the power supply to the cooktop at the circuit breaker. Additionally, protect the counter surface with a soft cloth or cardboard to prevent any damage during the removal process.
How can I disconnect the cooktop from the electrical supply?
To disconnect the cooktop from the electrical supply, locate the power source behind the cooktop. Depending on the installation, you may need to unscrew a cover plate to access the wiring. Carefully disconnect the wires and cap them with wire nuts to ensure they do not come into contact with each other or any other metal objects.
I have removed all fasteners, but the cooktop seems stuck. What should I do?
If the cooktop seems stuck, it may be adhered to the counter with silicone or adhesive. Gently pry around the edges of the cooktop using a putty knife or similar tool to break the seal. Take care not to force or apply excessive pressure to prevent damaging the counter.
Final Thoughts
Removing a cooktop from a counter may seem like a challenging task, but with proper guidance, it can be a straightforward process. Start by disconnecting the power and gas supply, ensuring safety. Next, remove any screws or brackets securing the cooktop to the counter. Gently lift the cooktop out of the counter, making sure to have a helping hand if it’s heavy. Finally, carefully disconnect the wiring and gas lines, ensuring you take note of their placement for reinstallation. By following these steps, you can successfully remove a cooktop from the counter. So, if you’re wondering how to remove a cooktop from the counter, simply follow these instructions for a hassle-free experience.